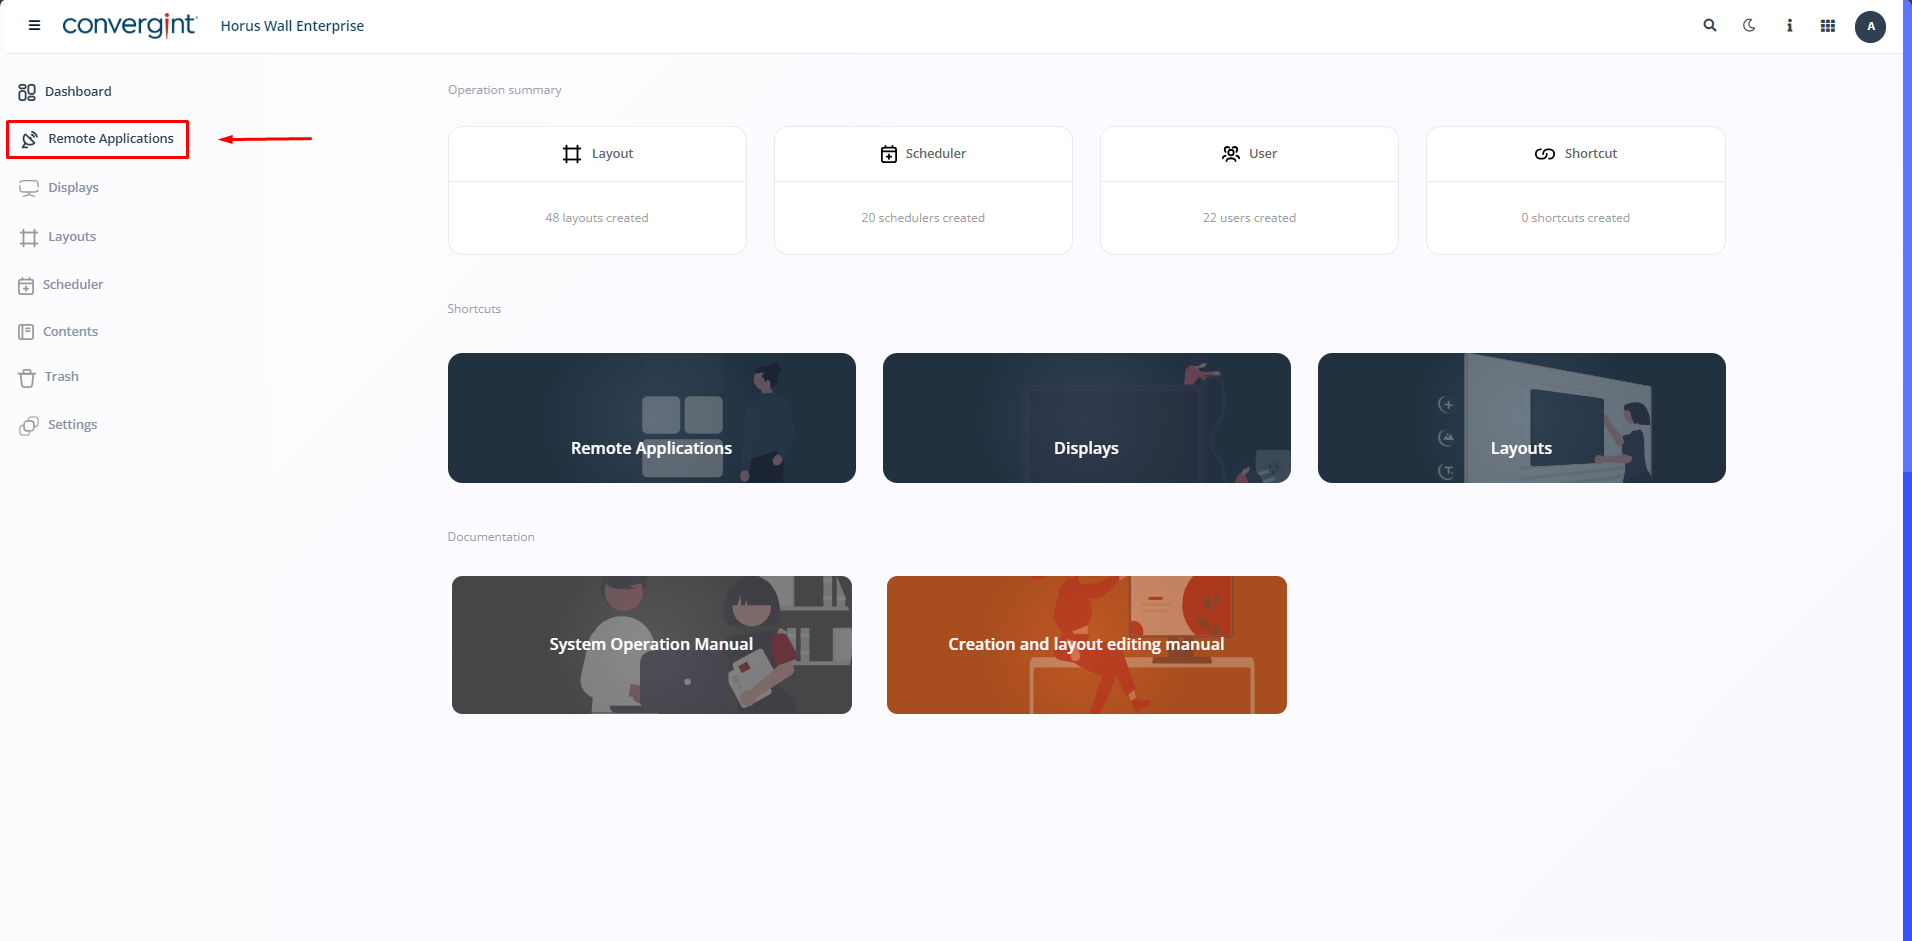
Creating and launching the launcher
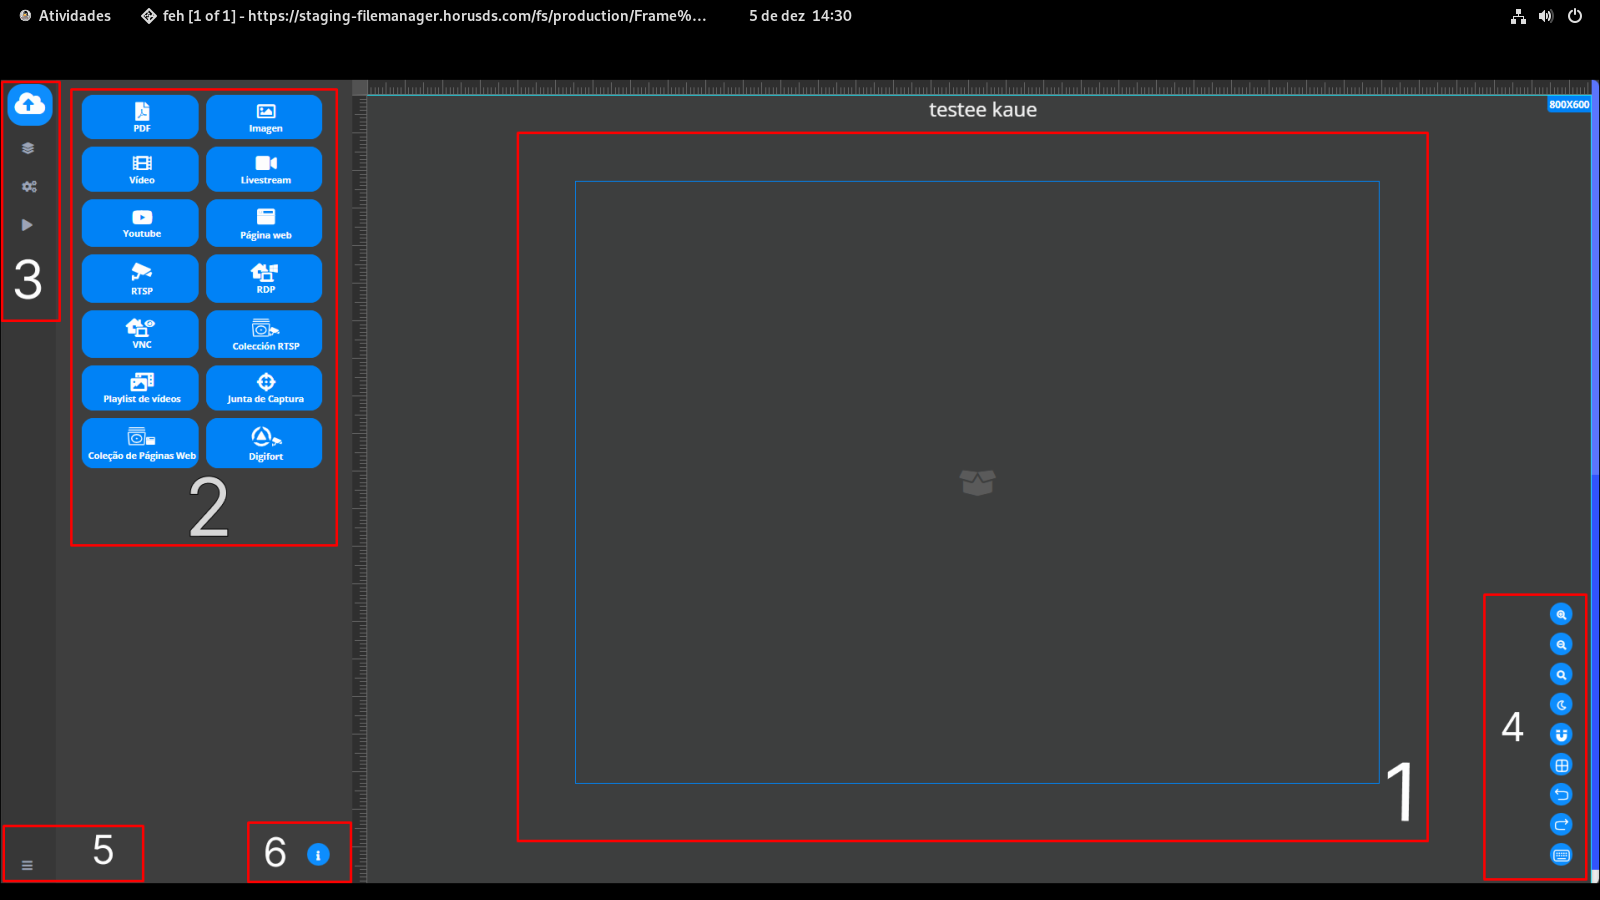
The first step in creating a launcher is to access the “Remote Application” tab, as shown in the following image. Once there, you can create the application you want to run on the displays, making it possible to change its size and position in the screen layout, as well as adding all its components as shown in the image below.
Next, choose the type of application you want to play on the Horus wall.
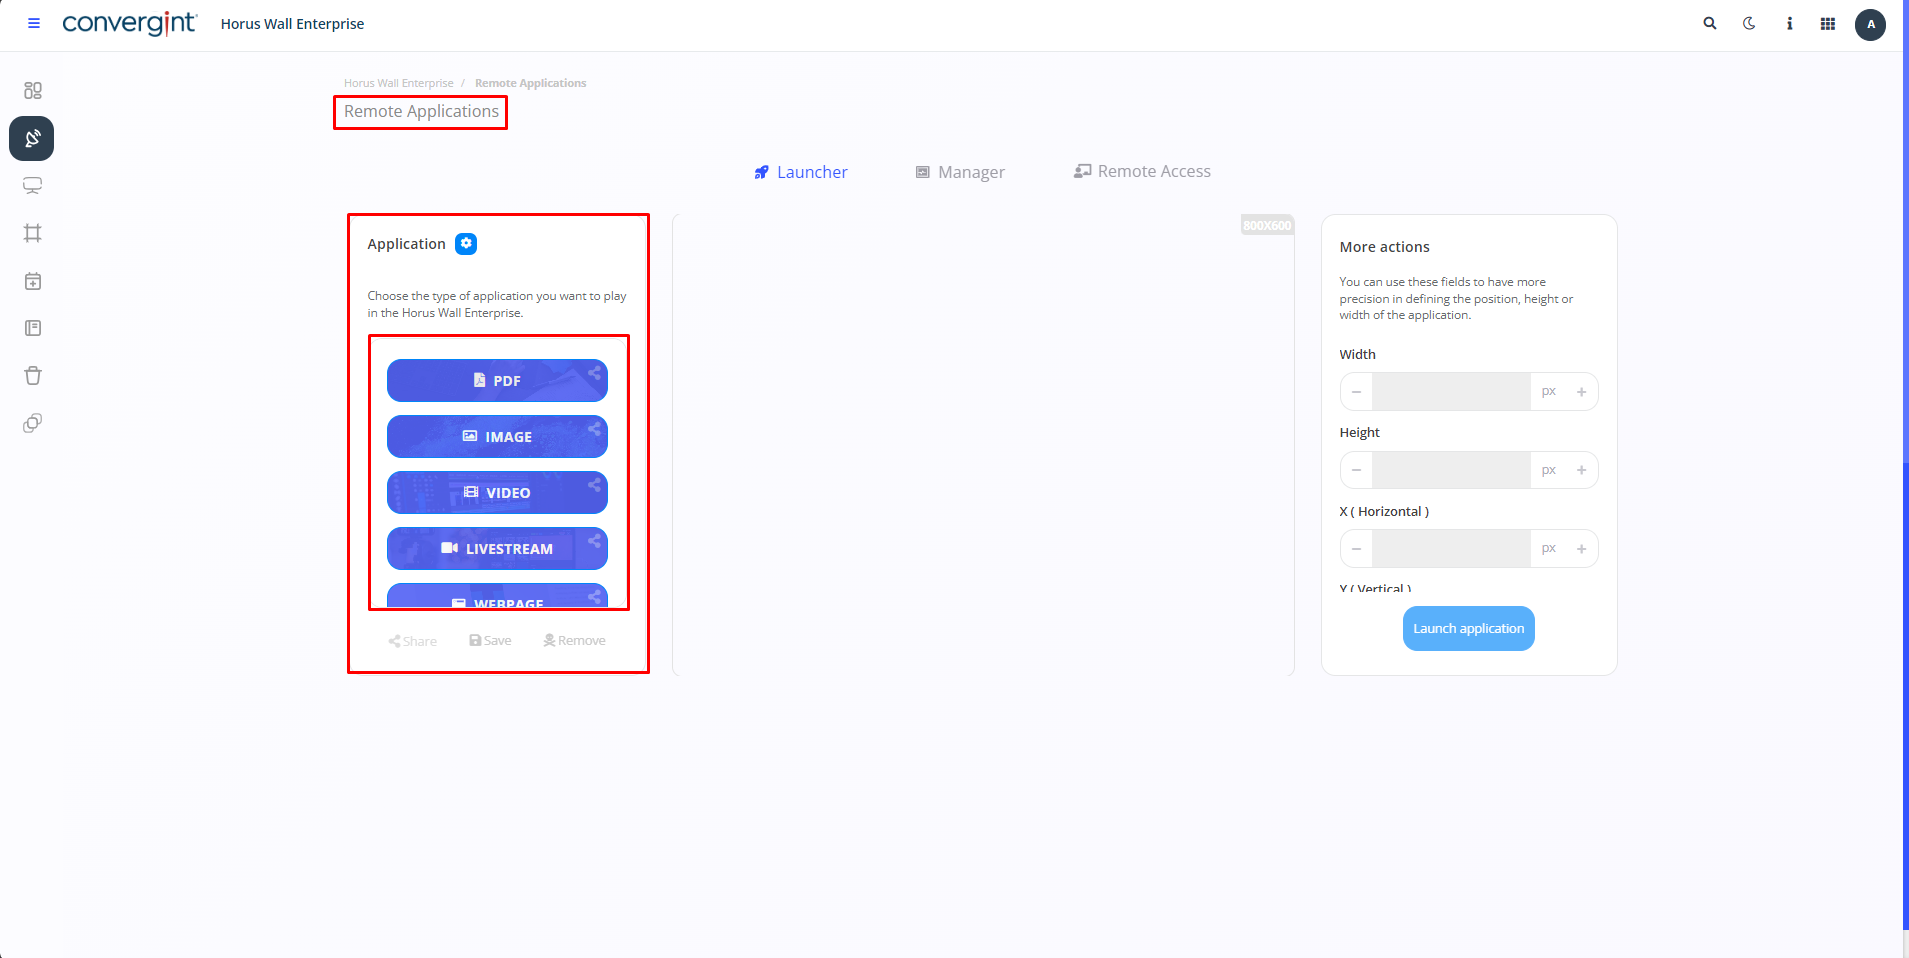
After selecting your choice in the image above, click on “Upload” to acquire the desired application.

After following the previous steps, an option will appear to upload what you want. All the items you select will be displayed next to the previously chosen image.
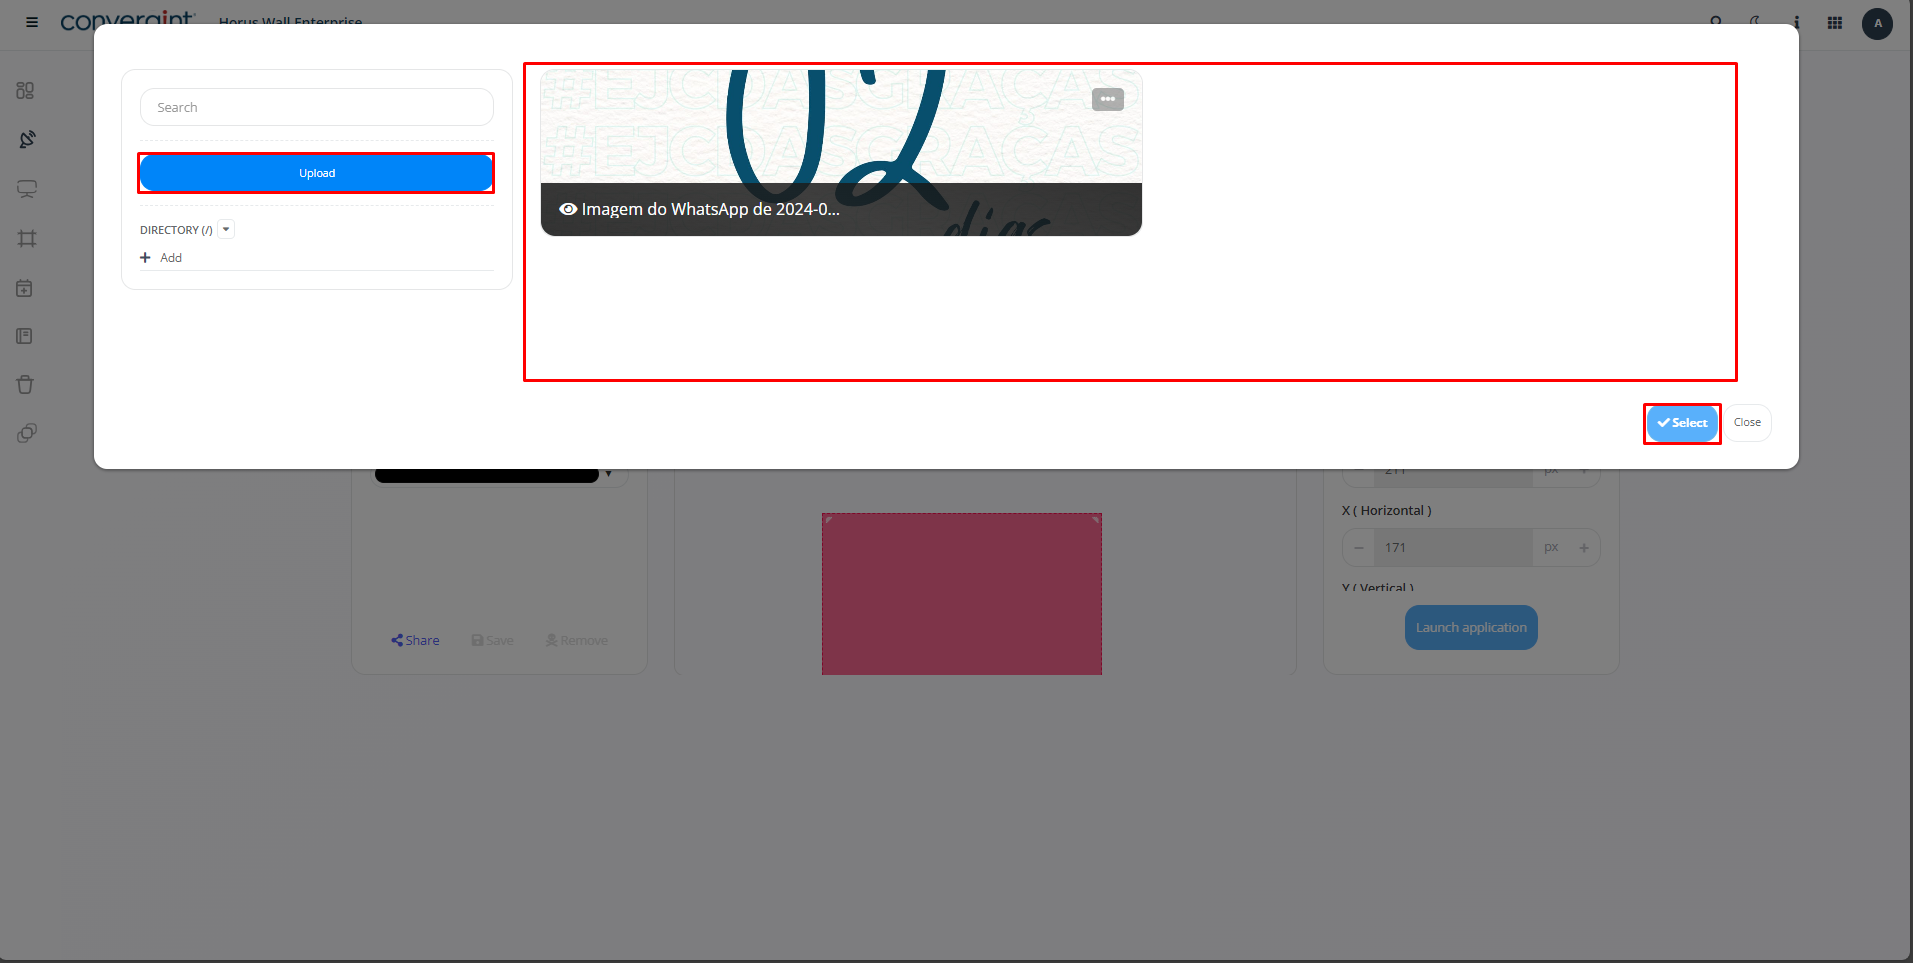
That's it, the image you want will be available after upload.
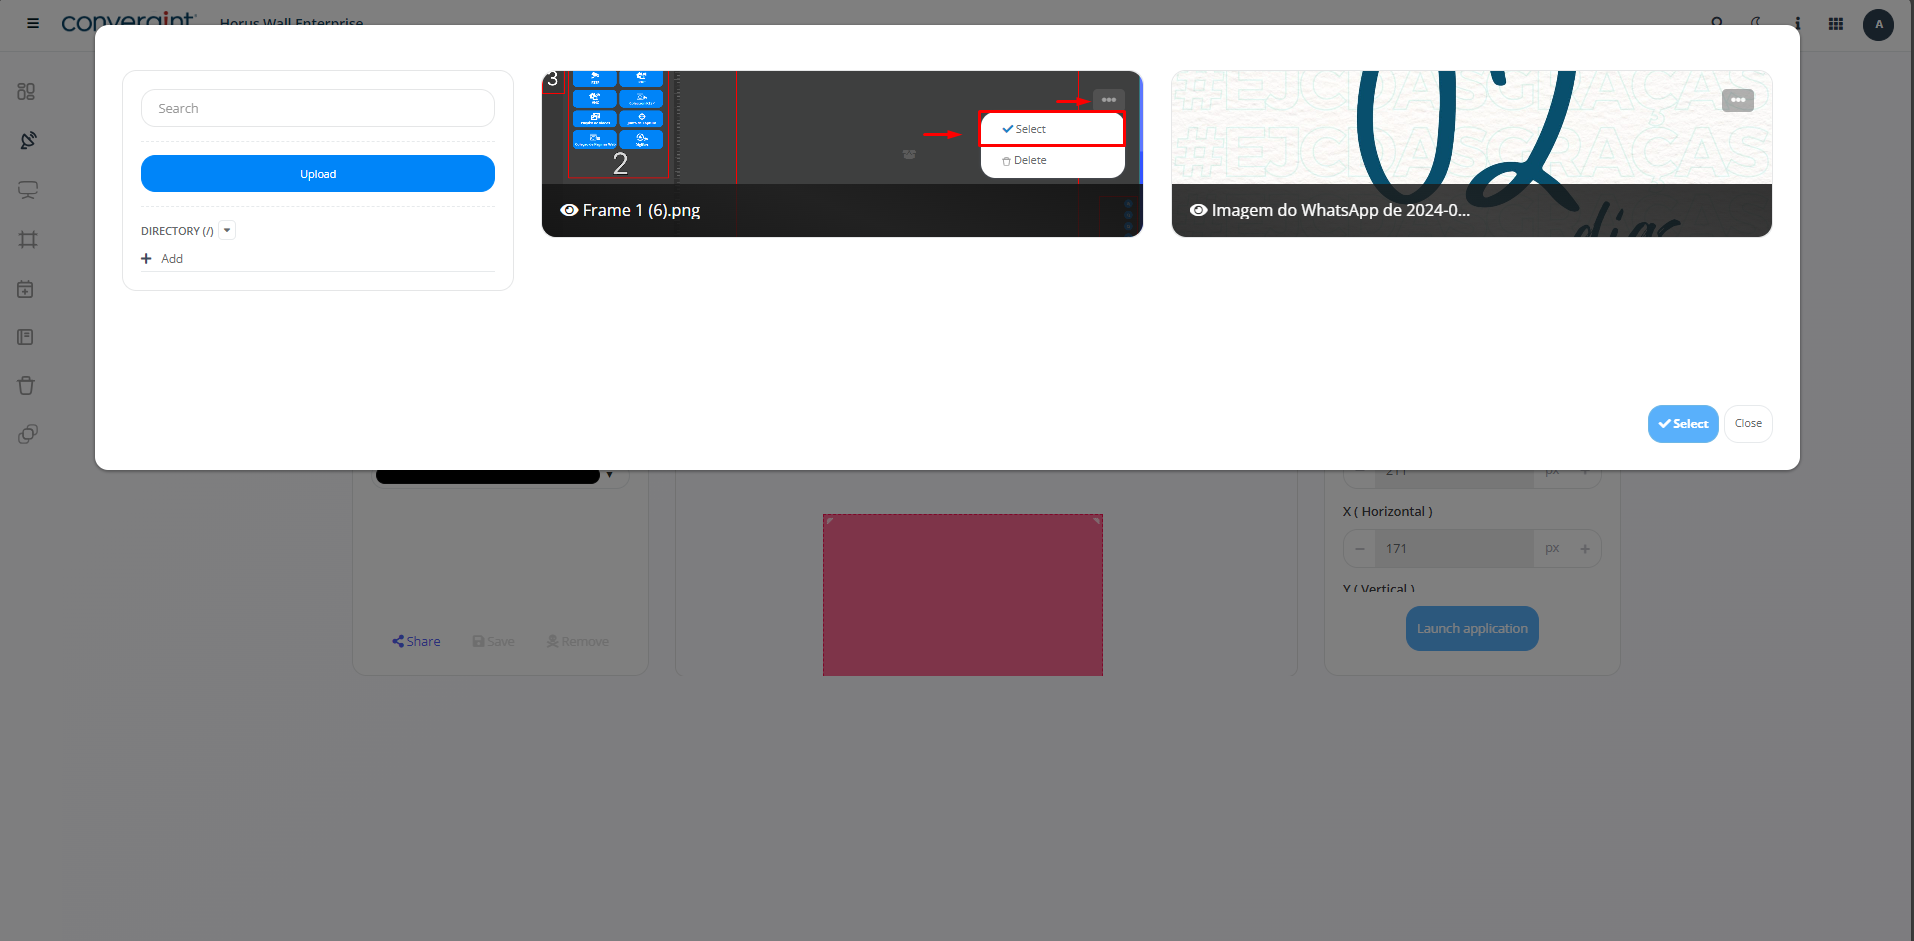
To launch it, simply click on the three dots located on the selected image and then choose the “Select” option.
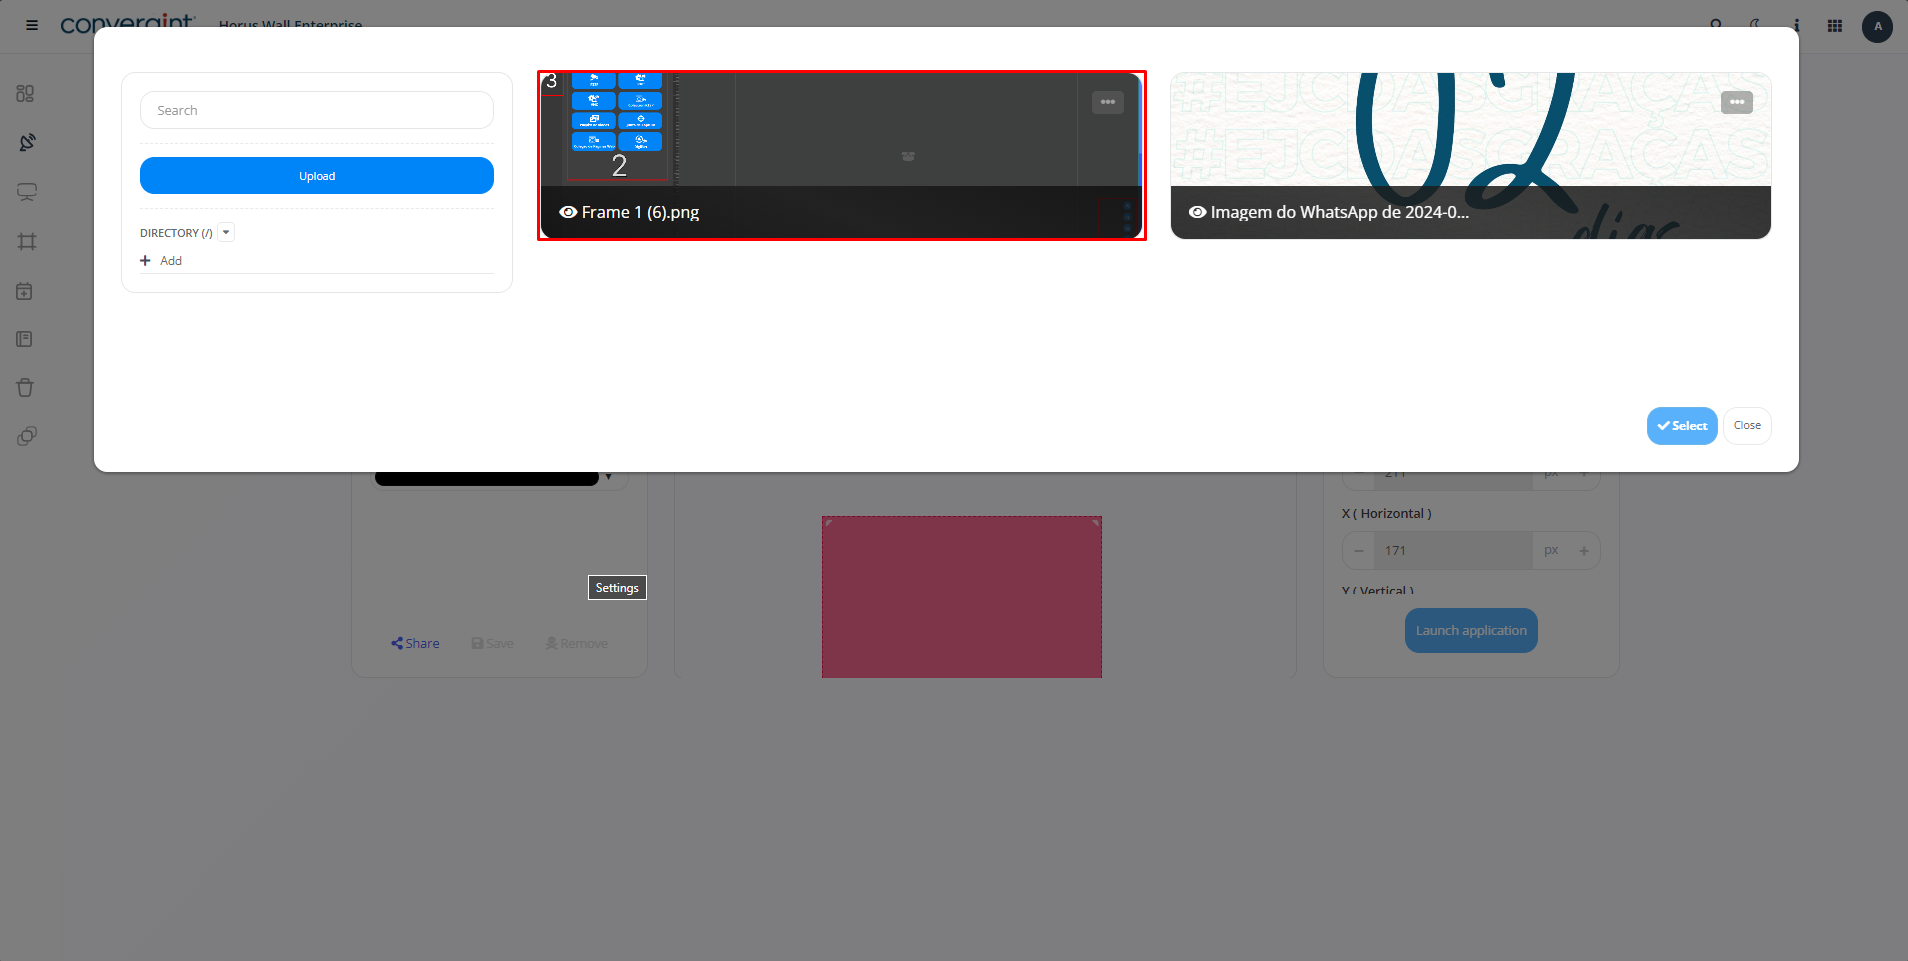
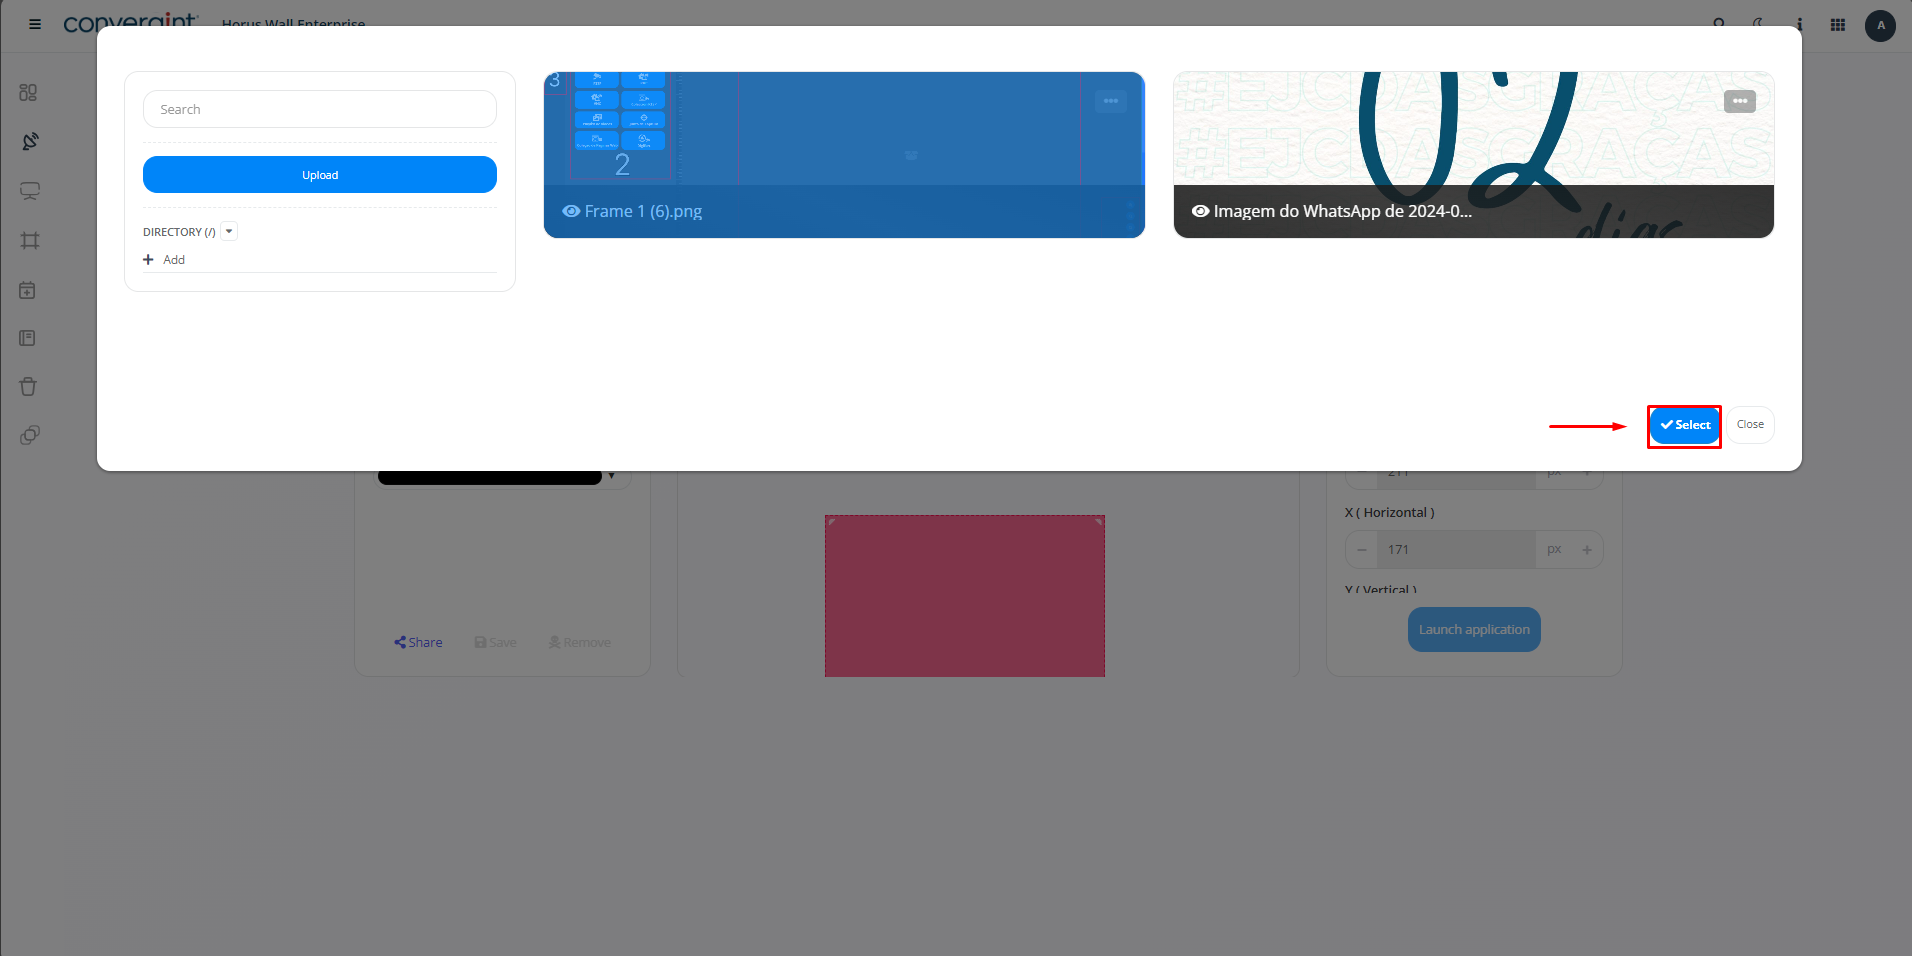
After this step, click on “Select” in the top right-hand corner of the screen.
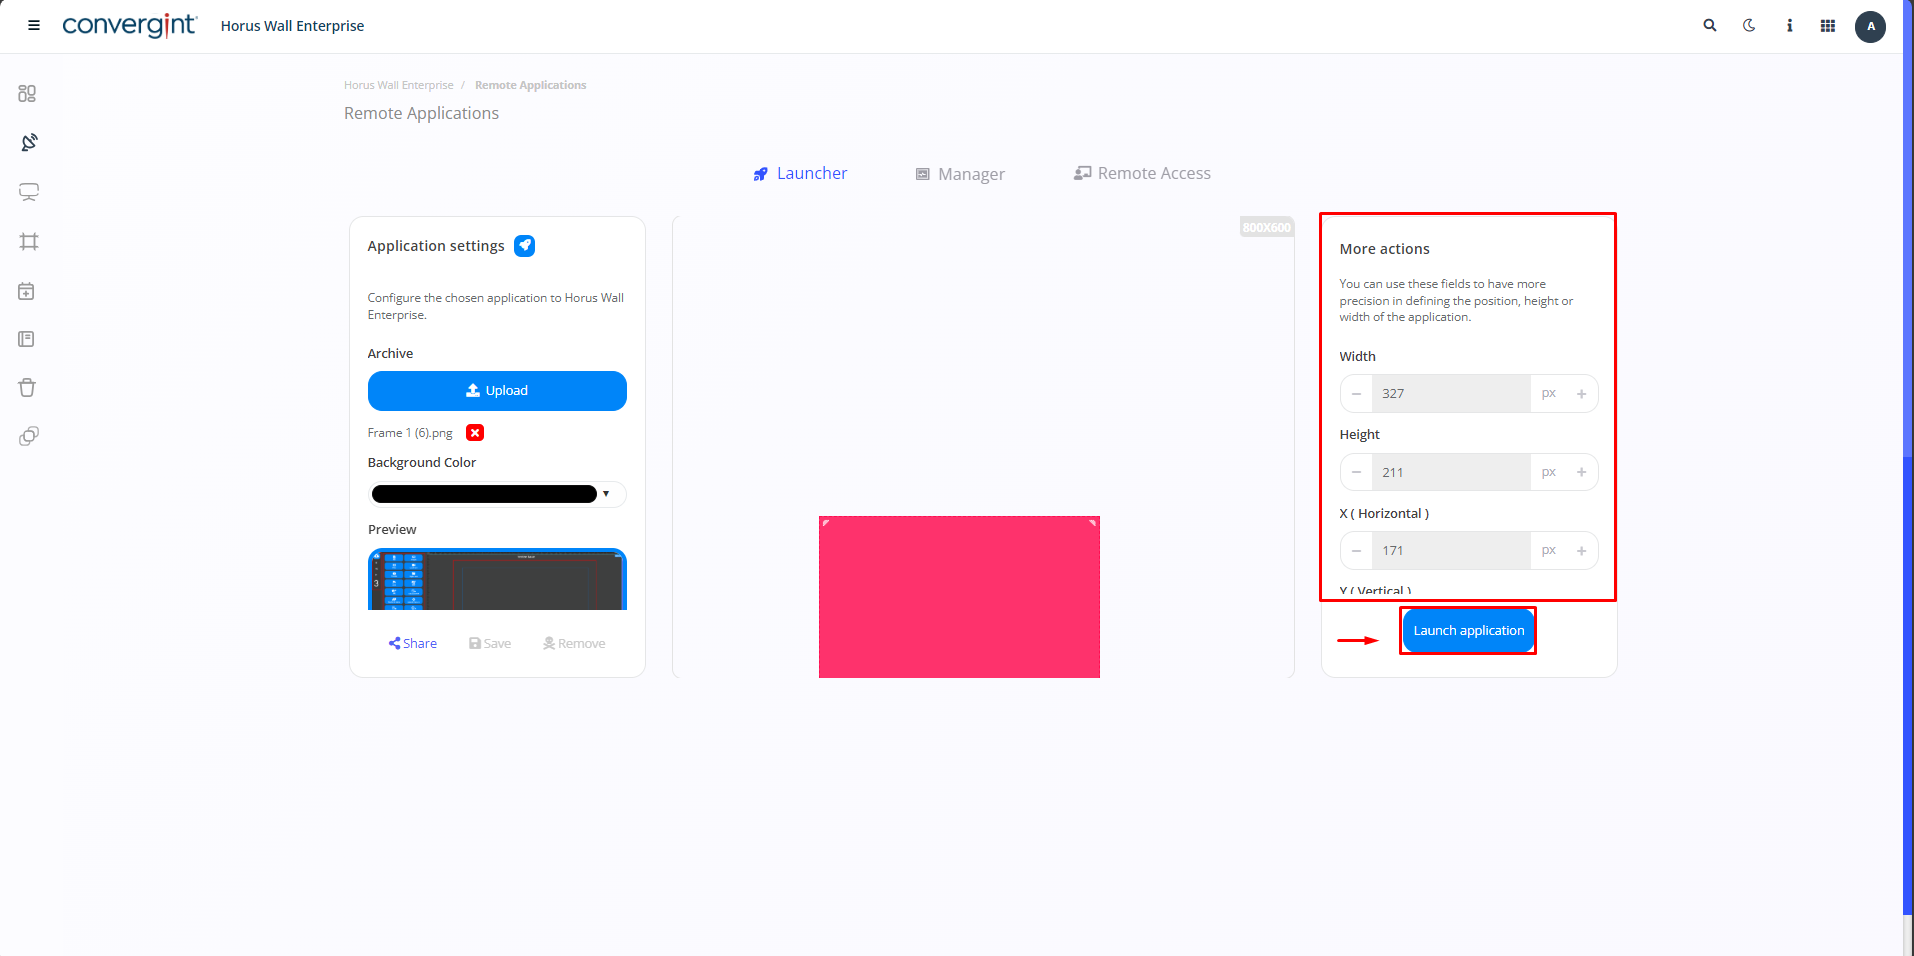
That's it, the image is selected. Then simply set the size of the image to your preference under “More actions” and click on “Launch application”.
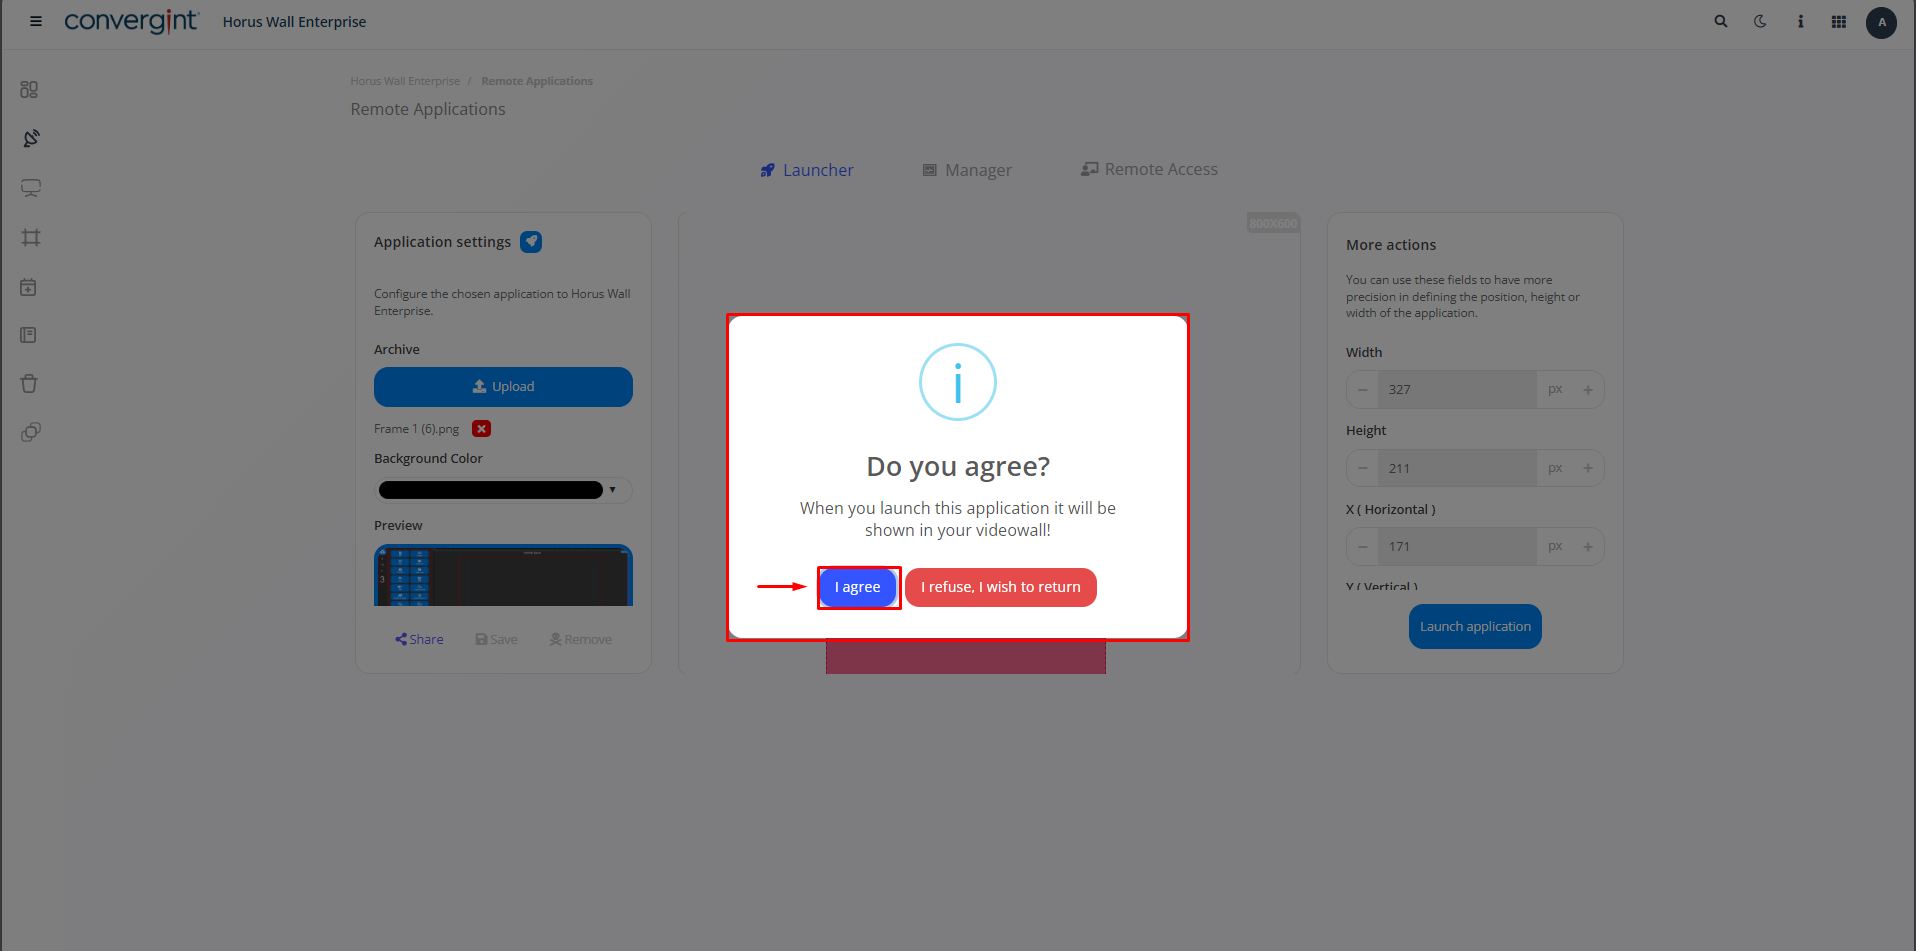
After clicking on “Launch application”, a confirmation message will be displayed to proceed with the launch. Simply click on “I agree” to confirm.
That's it, your launch will be made and displayed on the screen.

Observation.: To launch and create, you need the Remote App.